Recently I helped clients in Lake Tahoe, Nevada organize their cluttered mudroom into a beautiful and functional space. The room serves several purposes including laundry, outerwear storage, business supplies, scrapbooking materials and floral vases.
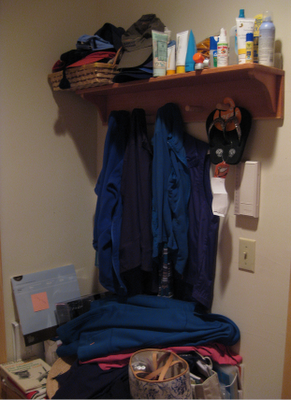
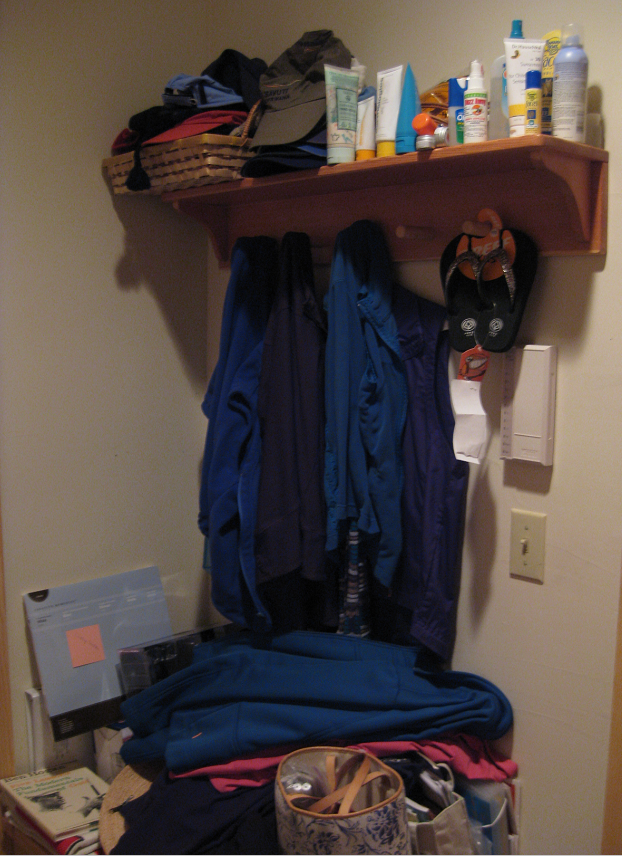
The picture above is a small space in between the garage and kitchen. As you can see, the coat rack and shelf are packed with items and very cluttered. It’s visually exhausting.
We started by taking sorting all the items into categories including donate, trash/recycle, move to garage, move to front closet, stays in mudroom and move to business supplies. Everything fit in a category and then we started putting items in their correct place. We ended up with two trash bags, three recycling bags and five donation bags.
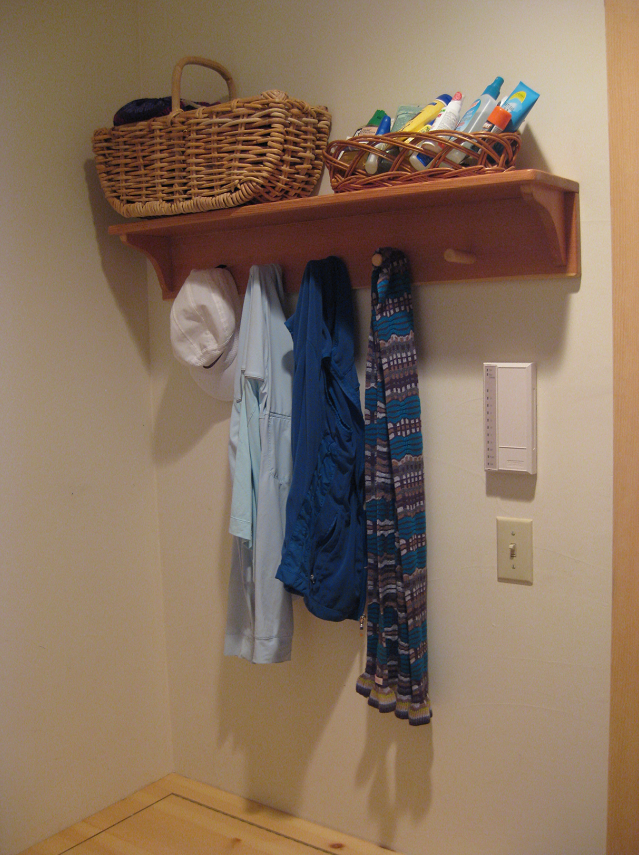
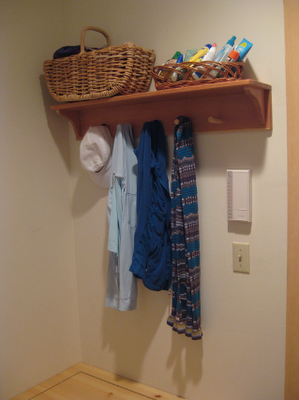
The above image is of the coat rack and shelf after the organization project. The coat rack now houses just coats and outerwear the homeowner frequently needs. We used a basket from another room that fit the shelf better – it now hold hats, mittens and scarves. The long cane basket conveniently holds sunscreen and insect repellent.
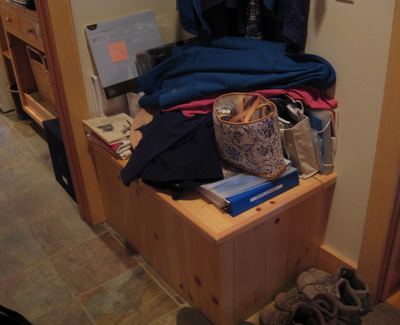
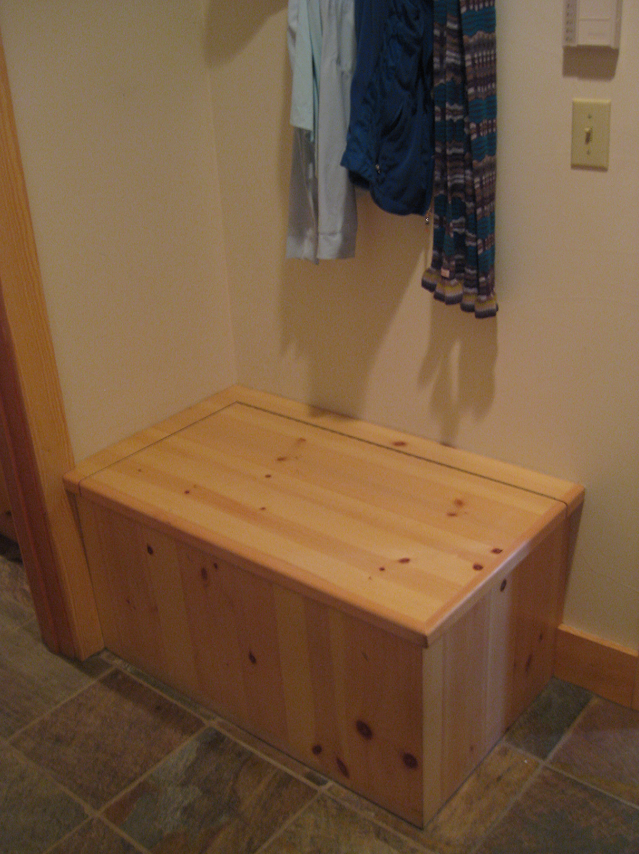
Here’s the bench as it existed before organizing. The homeowners would use it as a catch all for items such as coats, books, bags and boots.

We found a proper home for all the items on the bench and left it free and clear of clutter. Now the homeowners can appreciate the beautiful custom knotty-pine built-in bench and retrieve items inside easily. And look, you can see the gorgeous slate floor!
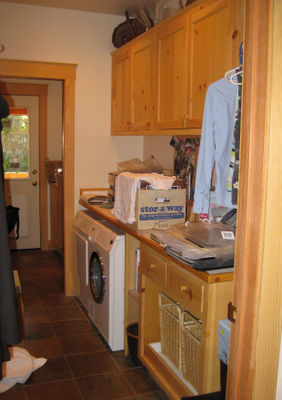
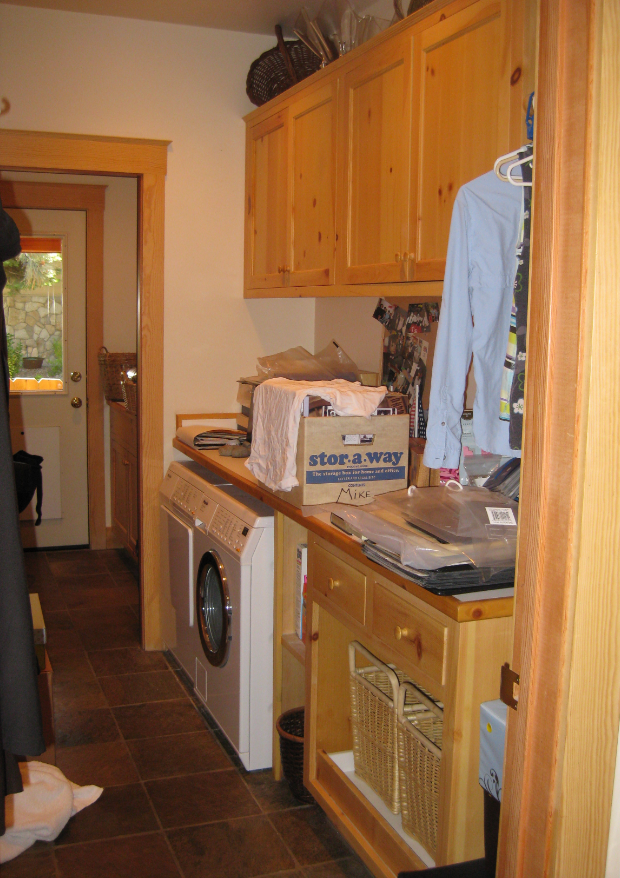
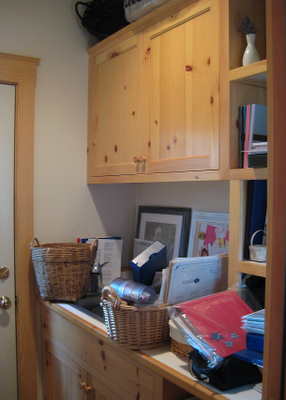
The picture above is a view of the laundry area. The counter is covered with boxes, business supplies and scrapbook materials. It was impossible to fold clothes on the counter in this condition.
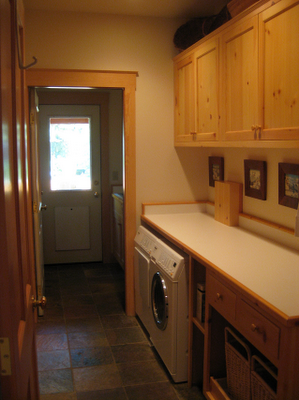
Now the laundry area is clutter-free and the counter top clear. Isn’t this a space you could fold clothes in?
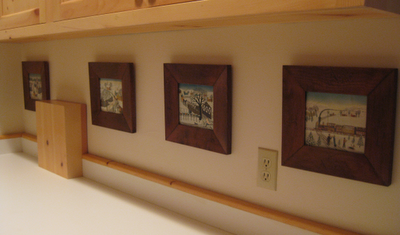
The client had a series of prints from her childhood that were being stored away. We decided to showcase them above the counter.
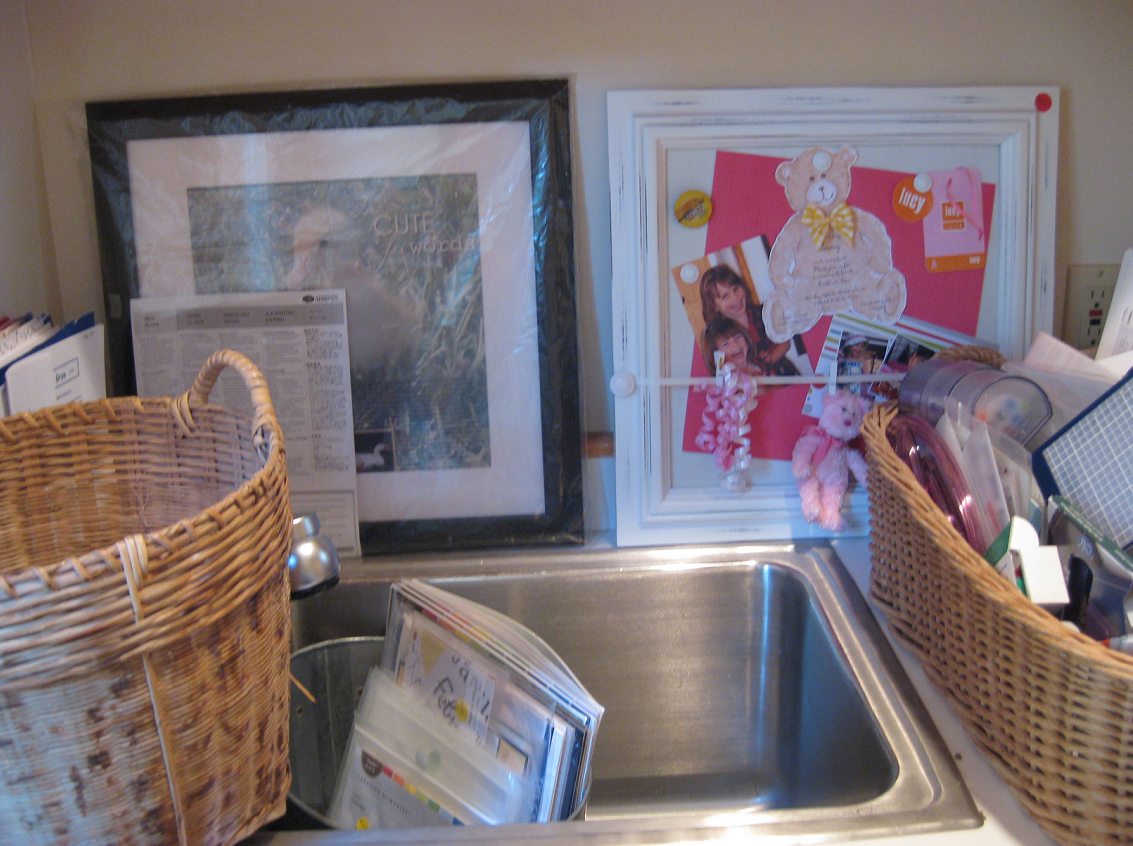
The utility sink was not being used and filled with scrapbooking materials.
The utility sink is now clear and ready to be put to good use again.
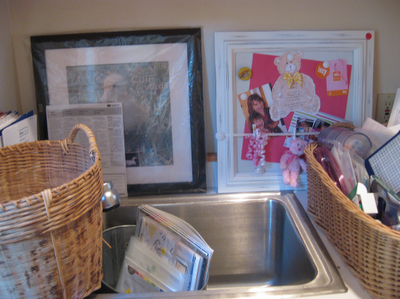
Here is another view of the sink “before.”
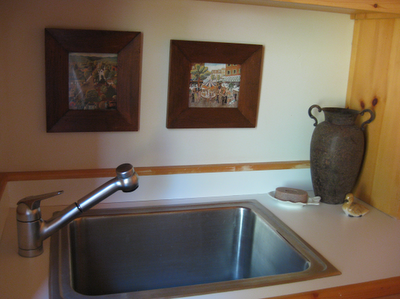
And here is a view “after.” We even had two framed prints from the same series displayed in the laundry area that worked beautifully above the sink.
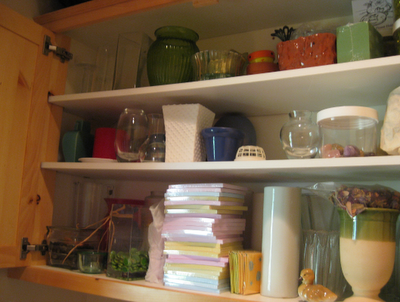
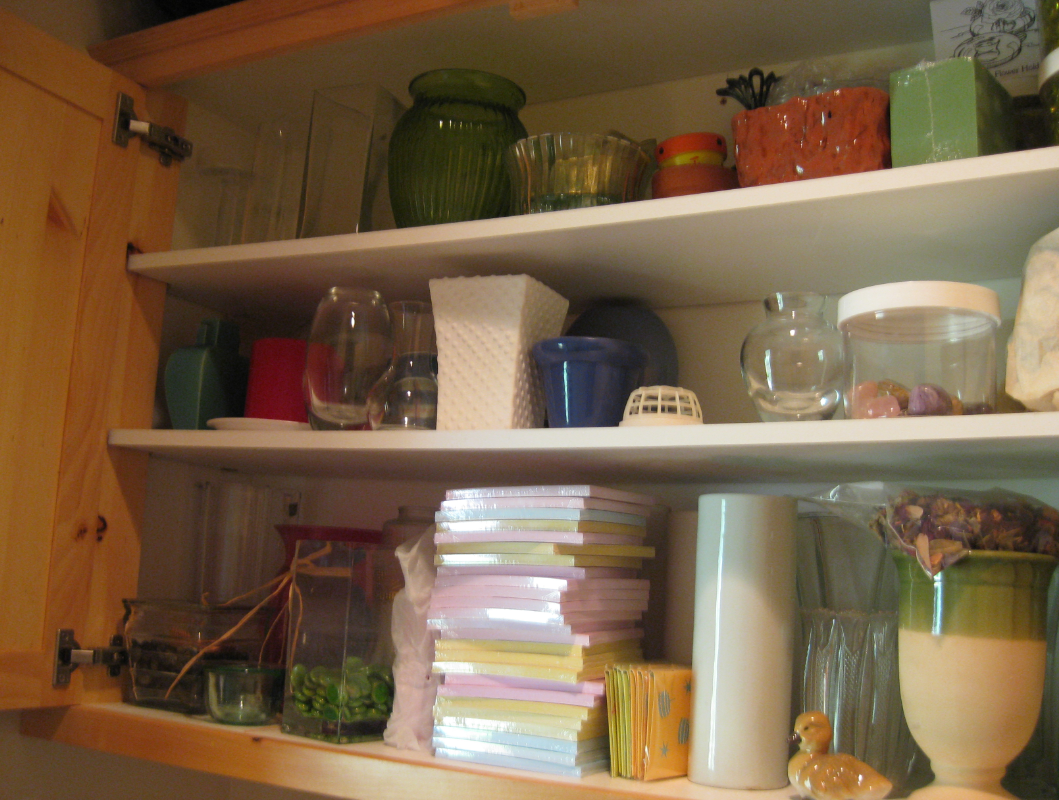
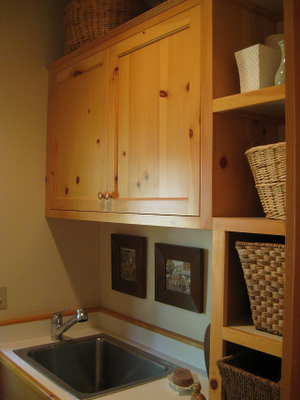
We even neatly organized all the cabinets. Here is a view of the cabinet above the sink before it was organized. It mainly served as storage for floral vases, so that is what ended up staying.

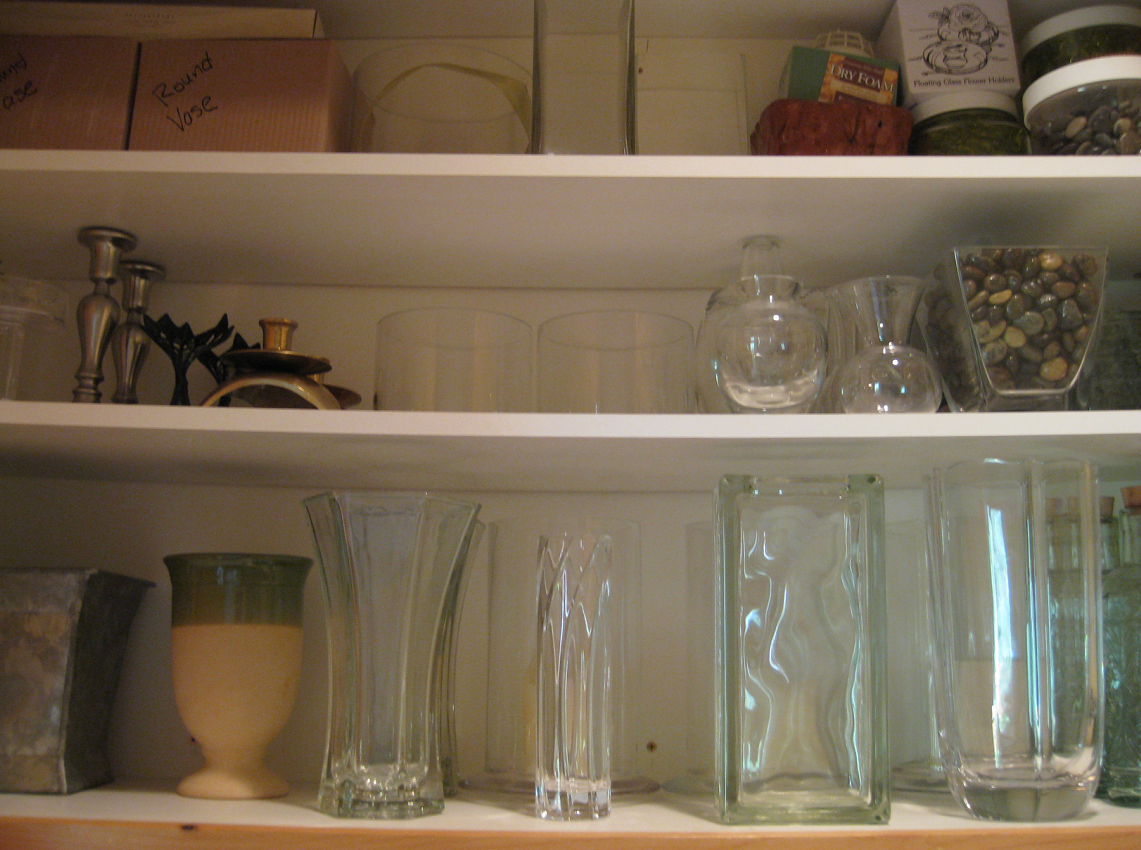
Here is the same cabinet after organizing. Now floral vases and supplies are displayed orderly and easily accessible.

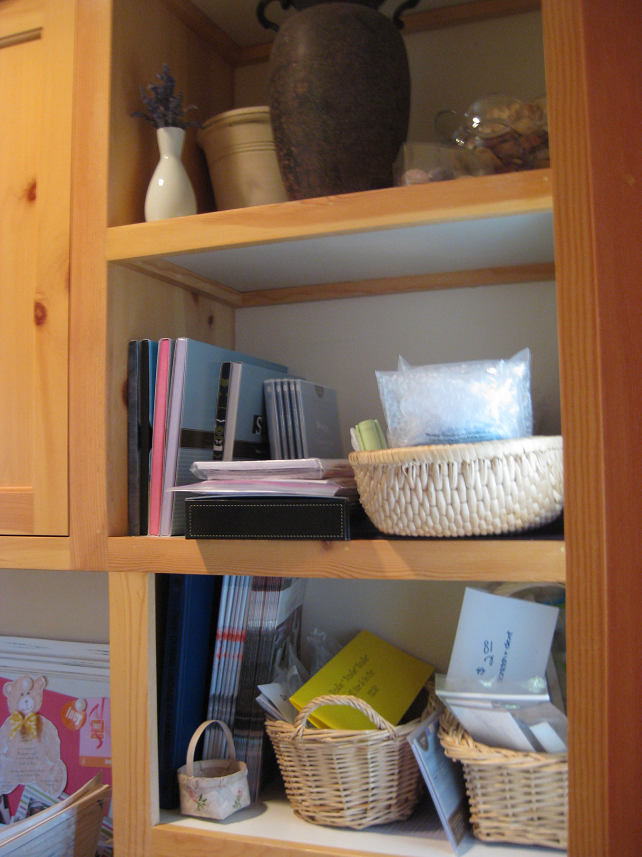
The open shelves to the right of the sink were also a catch-all for scrapbooking and floral supplies.
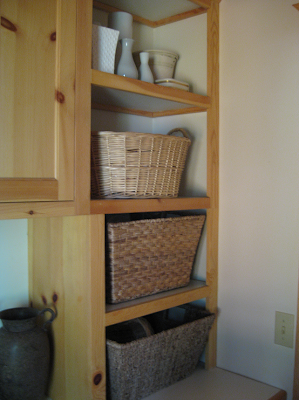
To keep the space visually pleasing, I suggested large baskets for the lower three shelves. None of them match, but I think that’s okay. In this case, all three baskets should be the same or all different. Because the homeowner already had two different baskets that fit the shelves, so we ended up only having to purchase one.

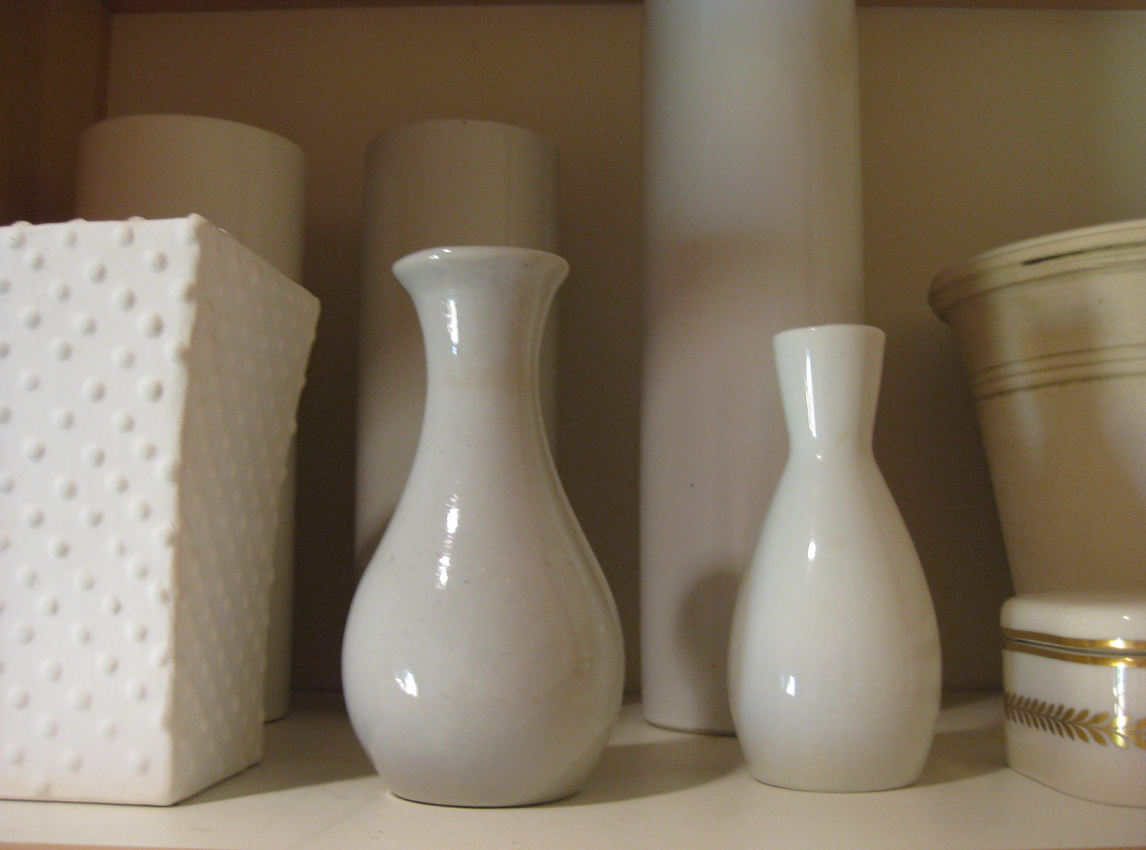
The homeowner had a lovely collection of white vases that I displayed on the top shelf. Organizing a collection of items by color is always easy on the eyes. It is also nice to have varying heights to add more visual interest.
The project was exhausting for me and the homeowners. It took approximately 20 hours to complete. But, it was worth every minute because the homeowners are thrilled with the results. They can again easily do laundry, hang up a jacket and find what they need.
It always feels good to complete a project!
A year from now you may wish you had started today.
~ Karen Lamb
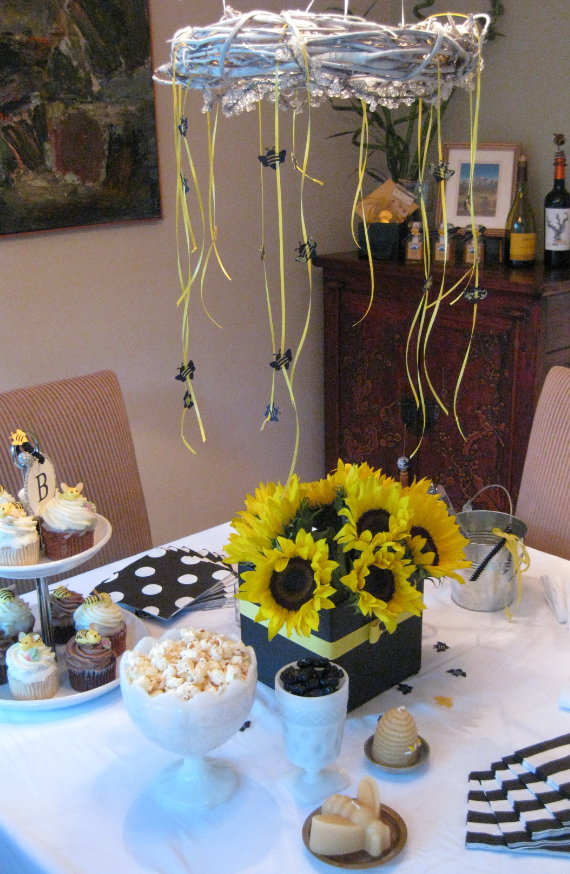
*images from Simplified Bee


 Follow