When it comes to organizing my home, my office seems to always be last on the list of priorities. This year however, stream-lining my home office is high on the list of things to do. Is it on yours? If yes, here are five simple steps to making your office space functional and beautiful…
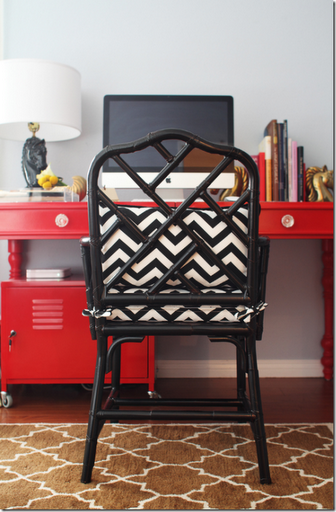
 {image from Jan Showers}
One: De-clutter
Start by removing all clutter. Toss, recycle or donate the items that are broken, not being used or don’t hold any sentimental value. Perhaps all those dried up pens and broken pencils? How about donating that extra calculator to a local school? When is the last time you read or referenced that book? Purging will help fight exhausting visual clutter in your office and is an easy exercise to perform monthly or quarterly.
Two: File
Don’t over complicate your filing system. The simpler the better. Think about how you look for a particular file or piece of paper. What would be the easiest way for you to find it? Then create a file system that works for you. Don’t worry about it being perfect. You can always go back and modify later.
In our home office, I prefer the FreedomFiler – a self-purging file system. It was a recommendation by another professional organizer and now recommend it to my own clients. FreedomFiler has compiled a wonderful {and free} learning center that explains the art of filing successfully.
Three: Purge a File or Two
Pick a file drawer and shred all documents that you no longer need to save. Here is quick overview from Bankrate.com of which records you need to keep and which ones your need to toss {shred}:
- Taxes – Keep seven years. The IRS has three years from your filing date to audit your return if it suspects good faith errors and six years if it thinks you under-reported your gross income by 25 or more.
- IRA contributions – Keep permanently.
- Retirement/Savings plan statements – From one year to permanently. Keep the quarterly statements until you receive your annual summary; keep the annual summaries until you retire or close the account.
- Bank records – Keep from one year to permanently. Throw away checks that have no long-term importance, but keep checks related to your taxes, business expenses and housing and mortgage payments.
- Brokerage statements – Keep until you sell your securities.
- Bills – Keep from one year to permanently. In most cases, when you receive the canceled check, the bill can be tossed. However, you should keep bills for big purchases (e.g., jewelry, appliances, cars, collectibles, etc.) for proof of their value in the event of loss or damage.
- Credit card receipts and statements – Keep from 45 days to seven years. Keep the statements seven years if they document tax-related expenses.
- Paycheck stubs – Keep one year. If your W-2 form matches your stubs, you can toss your stubs.
- House/Condominium records and receipts – Keep from six years to permanently.
In addition, its a good idea to create a “life” folder or binder that contains the important legal, medical and financial documents {i.e. will, trust, power of attorney, marriage license, etc.} that family members can access in case of an emergency. The WSJ has comprised a comprehensive list of documents your should include. It is also advised to have a copy of these life documents kept with your attorney or in a safety deposit box at a bank.
Four: Organize a Desk Drawer
Desk drawers tend to be dumping grounds. Another way to help streamline your home office is to organize desk drawers. Start by taking everything out of it and sorting through the contents and placing in groups (i.e. pens, note pads, paper clips, etc.). Items that belong in other areas of the home should go in a box temporarily and put away at a later time. Sort through the contents, donating, recycling or tossing out whatever is no longer useful.
Using containers or dividers to corral supplies not only adds function, but can add a touch a style to your desk. There so many organizing tray and divider options for drawers. Before you purchase any drawer dividers however, measure the drawer {width and height} to know what will fit. Also, keep in mind the sizes and quantities of the items you want to store to ensure you purchase the best option. Once you have decided what works for you, then arrange the office supplies back into the drawer using the different containers or sections of the organizer tray to keep things neat and easy to find.
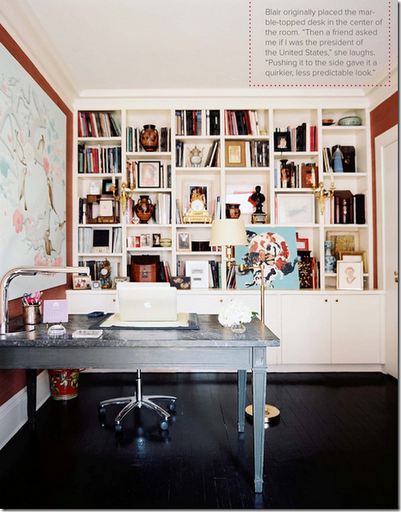
{image from Lonny}
Five: Stream-line Your Desk Top
The easiest way to do this is to remove all items from your desktop except for items that are absolutely necessary for your work (i.e. phone, computer, task light). Determine which items you use on a daily basis (i.e. pen & pencil holder, letter tray) and place them back onto the desk. Add a personal item or two (i.e. family photo, decorative figurine or small plant). The other items that you have removed will need to find a new home (i.e. desk drawer, filing cabinet, recycle bin).
It might take a few organizing sessions for you to complete all these tasks, but you will be so happy with the results!
Happy organizing!


 Follow
15 Responses to 5 Steps to Organize Your Home Office